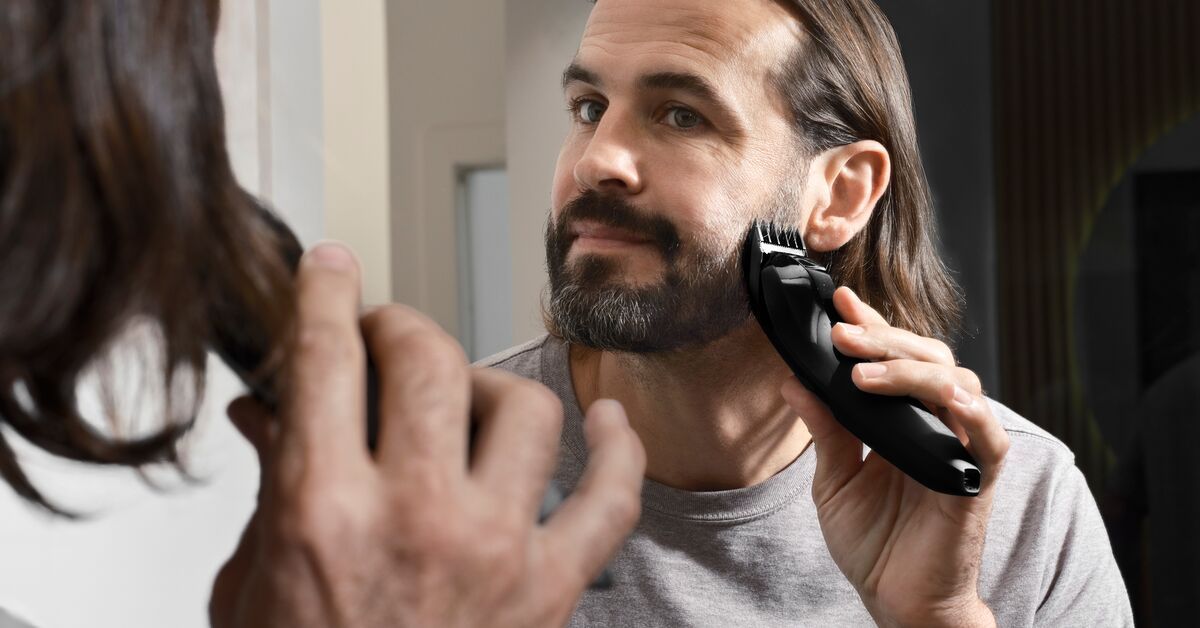
How To Use The Weed Whacker® 2.0
Watch our video on how to use the Weed Whacker 2.0, read along for extra insights and tips below.
Step 1: Power It Up.
So, you’ve got your new Weed Whacker® 2.0 and you’re eager to put it to the test. That’s fantastic! First things first, you'll want to charge it up using the provided USB-C Cable. Our battery offers up to 45 minutes of uninterrupted trimming, just plug your trimmer into the wall using our charging cable and you’ll have a full charge in about 8 hours. If, like many, you've discarded the packaging and misplaced the charger, fear not. Any USB-C cable and wall adapter you have lying around will work perfectly.
Step 2: Monitor the Indicator.
While the Weed Whacker® 2.0 is charging, the single LED battery level indicator will be lit. The cordless rechargeable AAA NiHM battery offers up to 45 minutes of run time. When the single LED battery indicator is unlit, you will need to charge your trimmer.
Step 3: Time to Trim.
Press the power button to activate the Weed Whacker® 2.0. You should hear the trimmer spring to life, and upon closer inspection—remember, not too close—you'll notice the blades oscillating swiftly. Stick the blade end up into your nose and ears gently, and let the blade to the rest. A premium 7,000 RPM motor powers our new 360° rotary dual-blade system so you experience no pulling, virtually guaranteed.*
*98% of men experience no pulling.
Step 4: Maintenance and Storage.
Once you’ve achieved a precise, close trim, it’s time for some preventative maintenance. Before cleaning, make sure the Weed Whacker® 2.0 is turned off and completely disconnected from power.
- Start by turning the blade counterclockwise and pull upward to remove the blade
- Then run each piece—including the trimmer itself—under running water
- Lay all the pieces out to dry completely
Finish up by reassembling the Weed Whacker® 2.0.
- Place the blade on the cone and turn clockwise until it clicks in
- Charge trimmer as needed between trimming sessions
03.04.24
Share

Featured Articles
- Your Favorite Ball Deodorant. Now with a New Scent: Perservere.MANSCAPED® + TCS for Testicular Cancer Awareness MonthIntroducing The Lawn Mower® 5.0 Ultra TCS Special Edition and TCS Ball Hero BundleThe Dome Shaver™ Pro vs. The Dome Shaver™ Plus: Which Should You Choose?The Chairman™ Pro vs. The Chairman™ Plus: Which Should You Choose?


